
Image source
Choose the picture of an image layer: your own image, or an image from a complication.
Opened from
- Image, in the add menu
Choosing an image takes up to three steps. In a complication, it first asks whether to use your own image or one of the images the complication’s data provides. Picking a complication image binds the layer to it, and you’re done.
Pick your image
Section titled “Pick your image”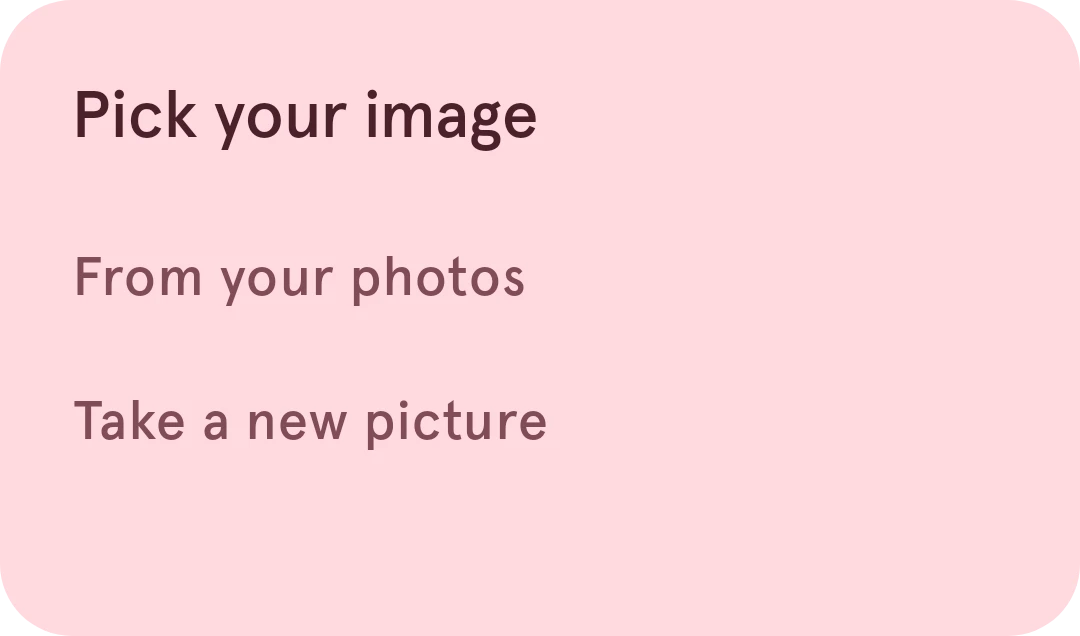
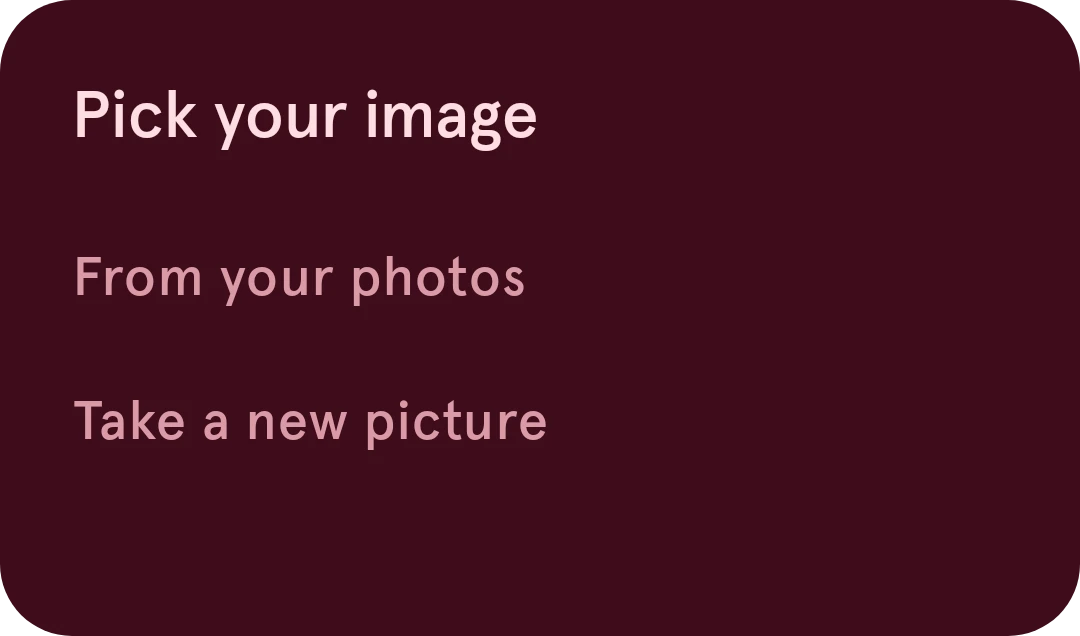
Tap where the image comes from: your photos, or a new picture with the camera. To pick from your files too, not only your photos, turn on Use full file picker for images in the settings; this option then reads “From your photos/files”.
Crop image
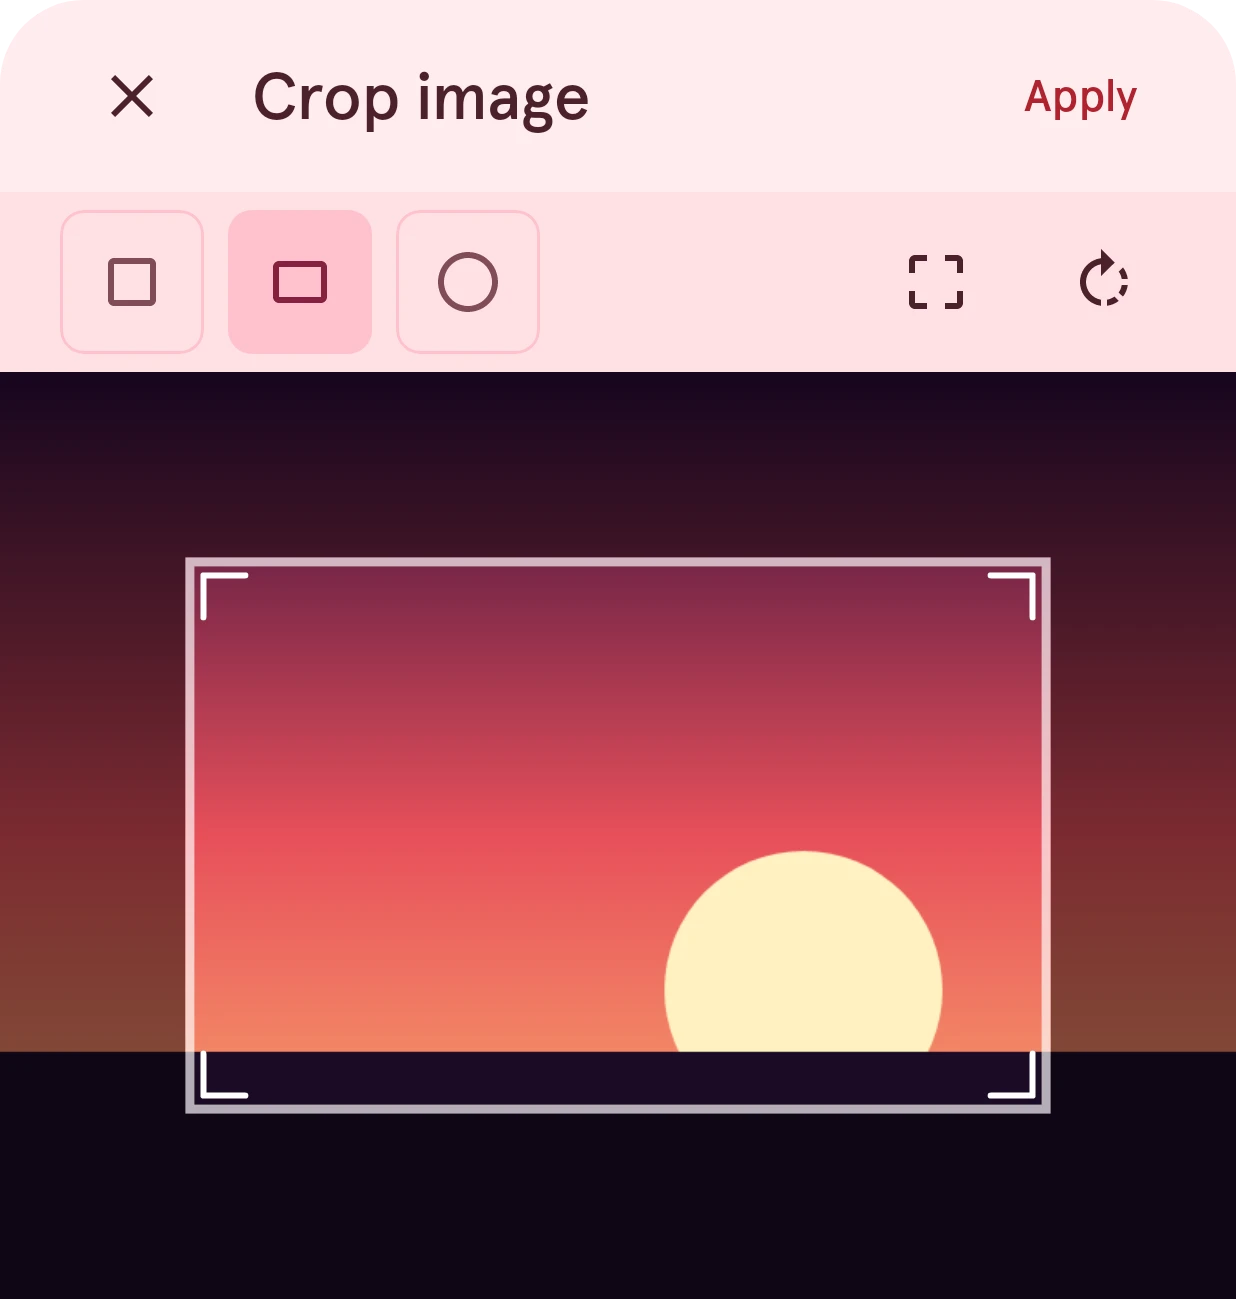
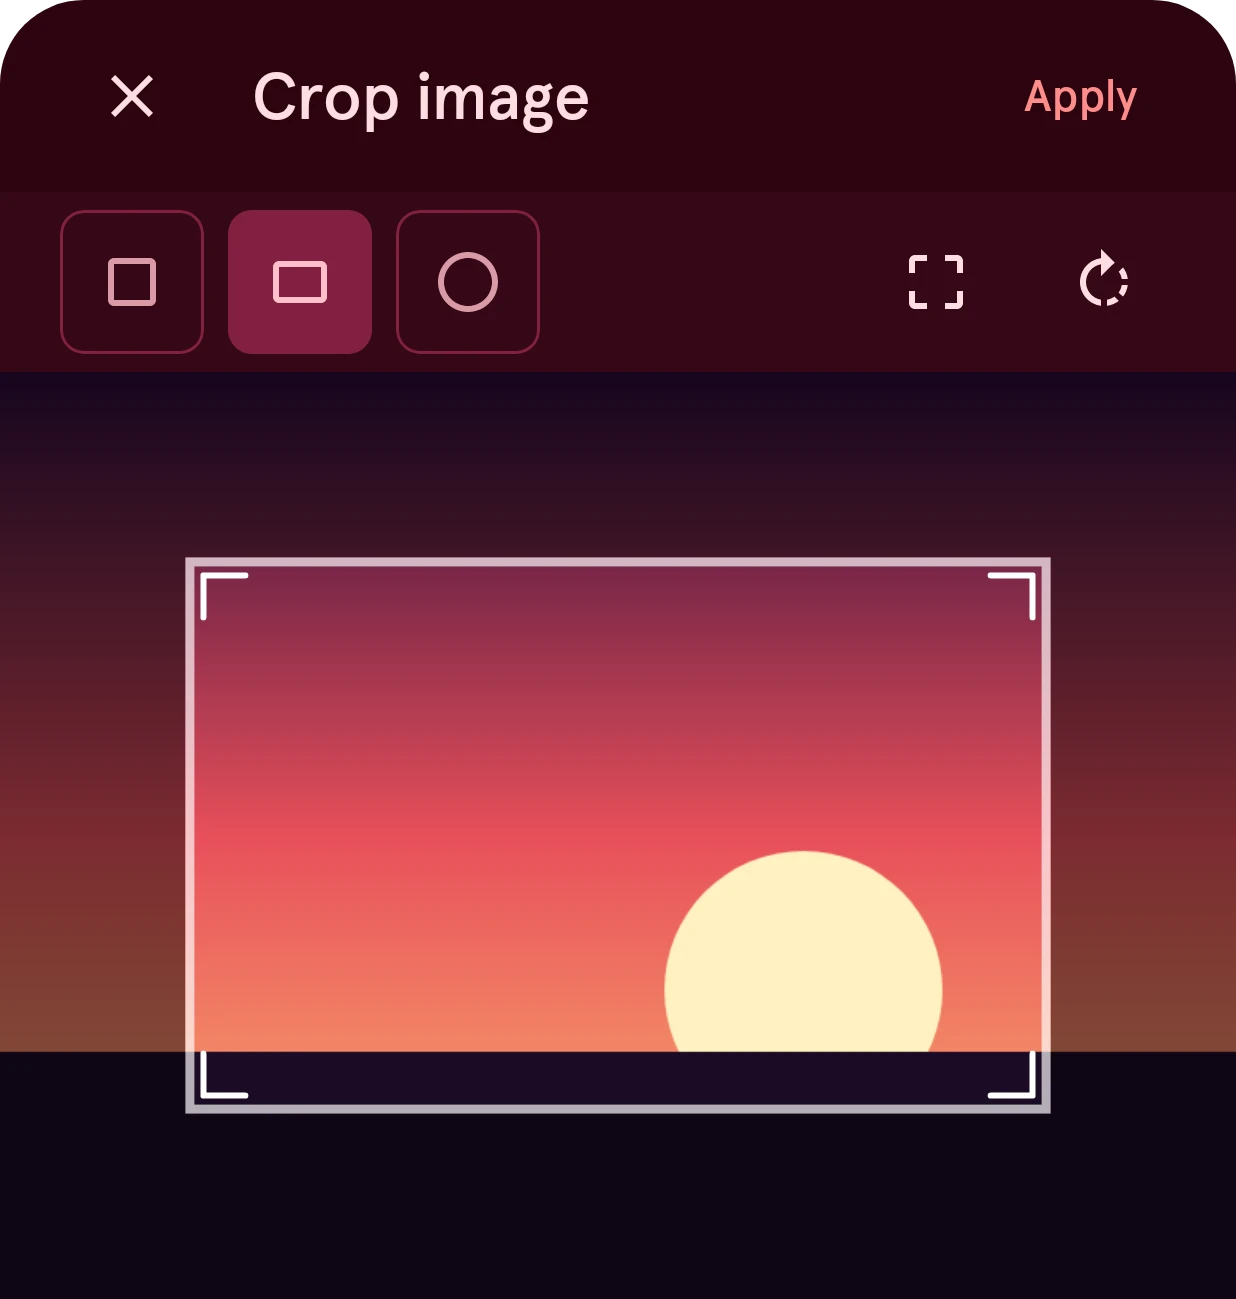
Section titled “Crop image”After you pick the image, crop it to the part you want on the face.
Close
Stops without adding the image.
Apply
Crops the image and puts it in the layer. When the crop leaves a lot of see-through space (a circle crop of a wide image), the app offers a tighter crop, since empty pixels make a face heavier for nothing. You can take the suggestion or keep yours.
Square
A square crop frame.
Rectangle
A crop frame of any proportions.
Circle
A round crop: the image is cut out as a circle.
Crop to whole image
Sets the frame to the whole image.
Rotate 90 degrees
Turns the image a quarter turn.
Crop area
Drag the frame to move it and drag its edges or corners to resize it; pinch to zoom in on the image for a precise crop. The part inside the frame is what the layer shows.